Hand soldering: six common mistakes and how to avoid them
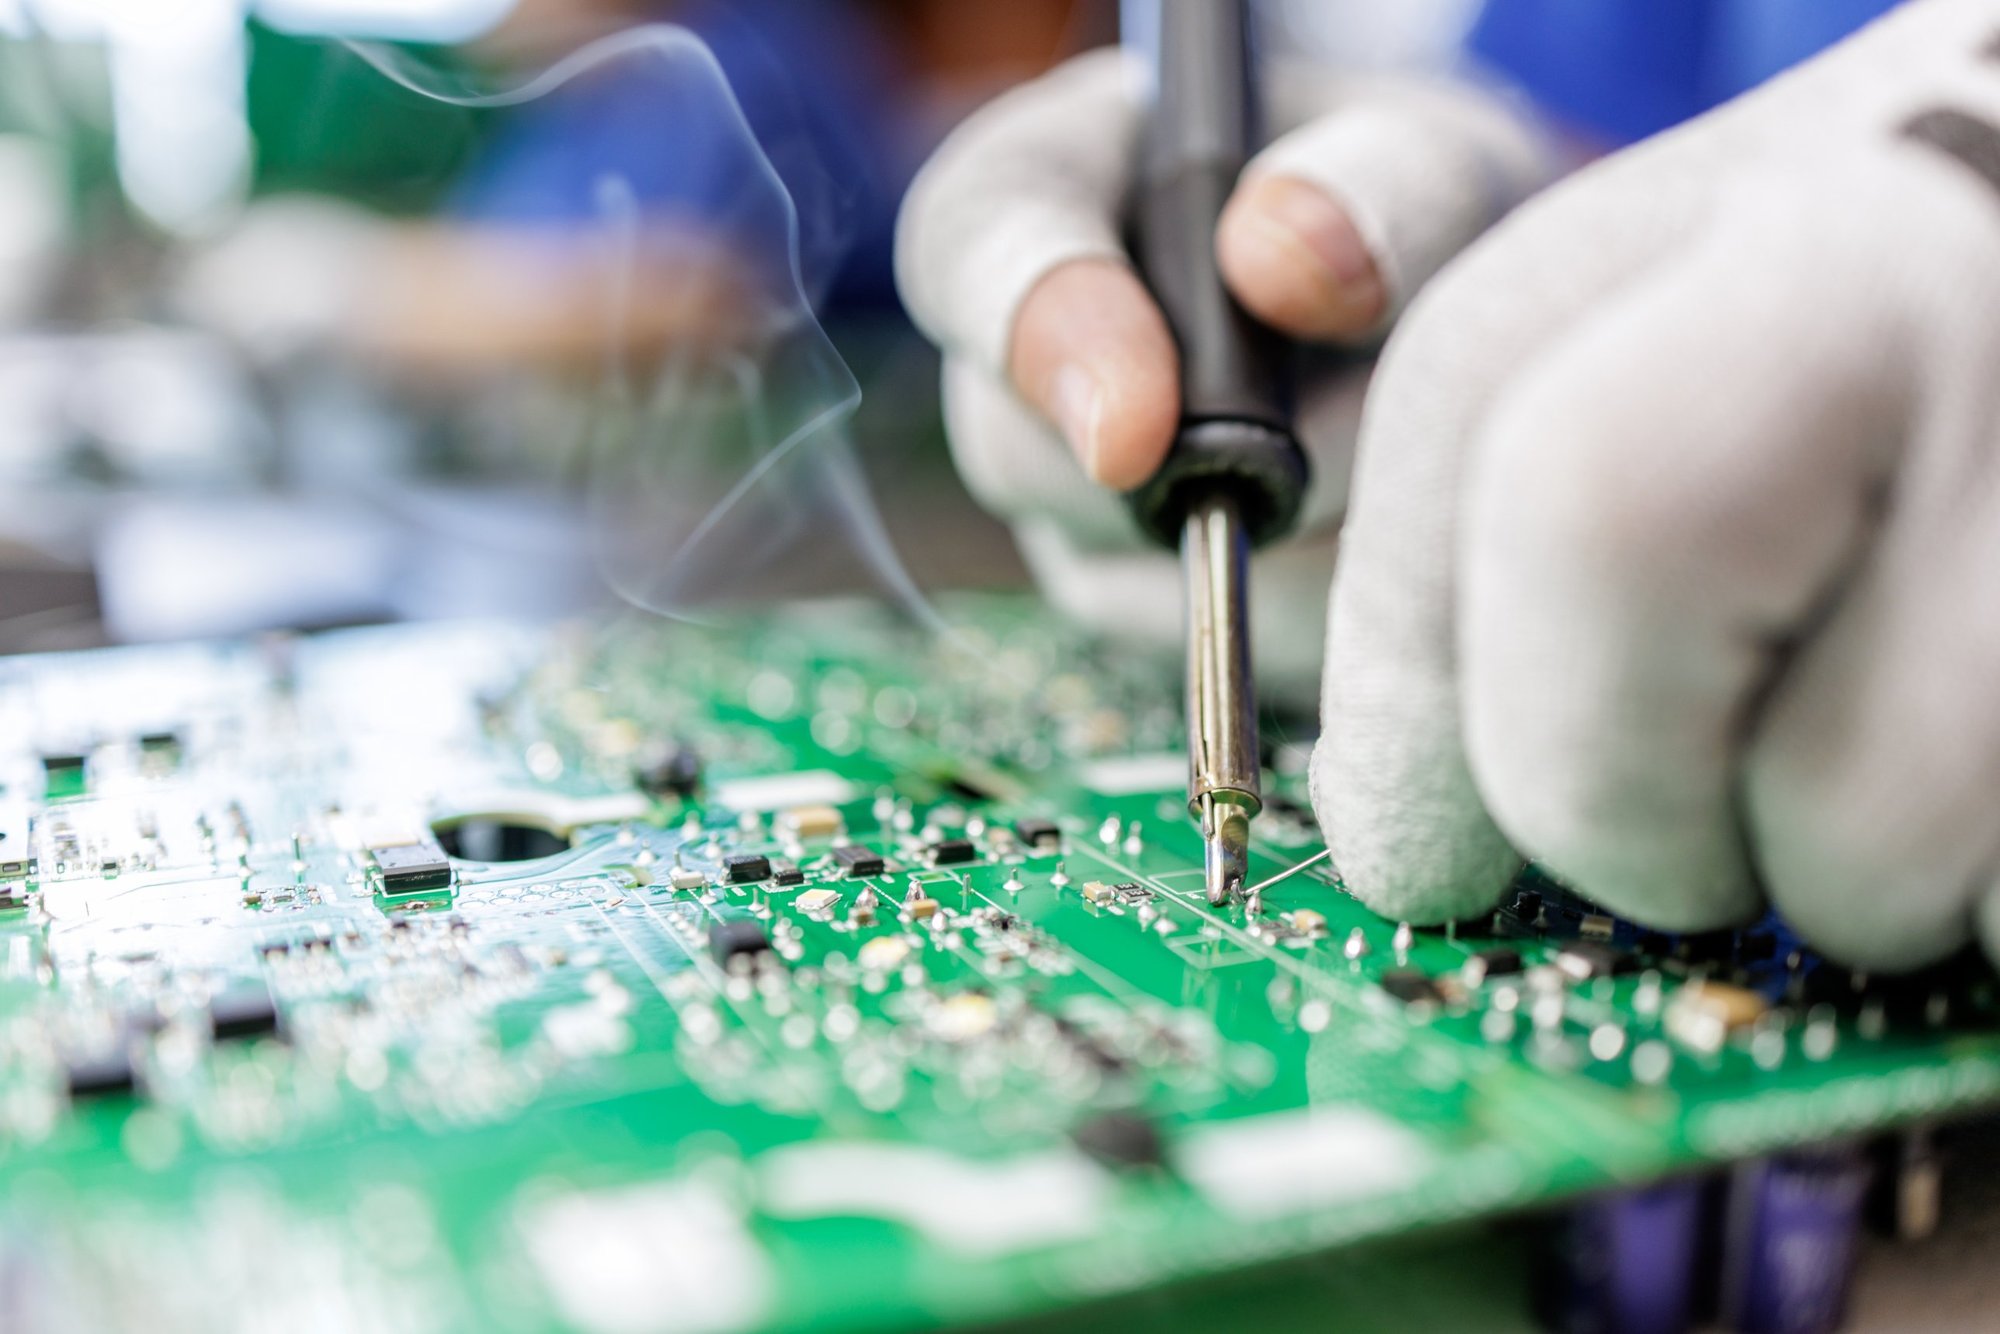
A poor solder joint doesn’t always show itself straight away. It can conduct perfectly on the workbench and then fail months later because of vibration, temperature changes or a hairline crack nobody spotted. In hand soldering, the cause rarely lies with the materials alone. More often it comes down to a few choices and habits that are easy to correct once you know what to look for. Below are six mistakes we see regularly, and what to do about them.
1. The tip temperature is wrong
A high temperature seems convenient because the solder melts faster. But the flux burns off before it can do its job, the tip oxidises more quickly, and sensitive components or the PCB can be damaged. If the temperature is too low, the solder won’t flow out properly.
Around 350 °C is a good starting point. From there, adjust for the solder alloy and the size of the joint. The rule: as low as possible, as high as necessary. A temperature-controlled soldering station keeps that temperature stable, even when the tip is transferring heat to a larger mass.
2. The tip shape doesn’t suit the joint
A fine, pointed tip feels precise, but it often touches the pad at just one spot, so heat transfer is slow. Choose a tip that is as large as possible for maximum contact and good heat transfer, yet small enough not to touch neighbouring components.
3. Melting solder directly onto the tip
It’s an understandable habit: put solder on the iron, then take it to the joint. But most of the flux in the solder wire then evaporates on the tip, when it’s needed on the pad and the component lead to clear away oxides and help the solder flow.
Heat the pad and the component lead together and feed the solder into the joint itself, not onto the iron. That way the flux does its job where it counts.
4. Holding the iron on too long
Leaving the iron in place too long risks damaging the PCB or the component, for example lifted pads or overheated parts. Heating, adding solder and removing the iron should take no more than a few seconds.
Is the solder flowing too slowly? Then the tip is usually too small for the joint. Choose a larger tip rather than heating for longer.
5. Skipping tip cleaning
You can recognise an oxidised tip by a black or encrusted layer. A tip like that conducts heat poorly and no longer picks up solder. The result: without realising it, you heat for longer or turn up the temperature, and you’re back at mistake 1 or 4.
Clean the tip properly and regularly on a damp sponge. Tin it again after cleaning and before putting the iron back in its stand. That thin layer of solder protects the tip from oxidation while it’s not in use.
6. Not holding the iron on long enough
The opposite problem is just as common. Remove the iron too soon and you get a cold solder joint: dull, grainy and mechanically weak, even if it looks secure at first glance.
Keep heating until the solder flows smoothly around the pad and lead and forms a shiny, concave fillet. Then remove the solder first and the iron second. If you’re working with lead-free solder, the joint is naturally a little duller, so focus mainly on its shape.
What these mistakes have in common
Almost everything comes down to heat transfer: the right temperature, a tip that makes good contact, a clean tip and the right timing. Get those four under control and you’ll make joints that stay reliable in the long run.
Smans supplies manual soldering and repair systems and offers hands-on soldering training through the Smans Academy. Discover our manual soldering training.
Related trainings